This look is great for every skin tone it will give you that radiant in-love-glow. It is very soft and obviously natural as it says in the title :p It even looks good with glasses! ;) But of course you don't have to be getting married to wear this look. Its perfect for school, work, dates, parties, you name it! Of course before your wedding do a trial test to see if you like the makeup. Not just for this one, but if you decide to have it done have a trial and make sure you like it. You don't want to break out from something the day of your wedding, or hate the way you look.

First things first skin care is the most important step to makeup. You need to wash your face two times a day, especially at night! I cannot stress how important it is to get off the makeup before you sleep! Three steps, cleanser, toner, moisturizer. Do not tug when cleansing your face this cause premature wrinkles! Always always always do these three steps.
Today we will do things a bit differently, start off with your usual moisturizer, and foundation, and powder. But do not put concealer on underneath your eyes. That will be last because we will be using loose powder for the eyes and you will get fall outs (eyeshadow will fall underneath your eyes) You are however allowed to apply it everywhere else like your nose, mouth and other red areas or blemishes.
For the foundation we want to use airbrush makeup, however most of us cannot afford an airbrush machine so we will use the drug store brand Sally Hanson Airbrush Makeup which works amazingly. Spray it all over your face and use a stippling brush or powder brush and apply evenly all over your face. This helps to create that airbrush look, it really does work and it is super cheap! Next for powder I am using Bare Escentuals Mineral Veil to finish off my airbrush look. This helps give a finish to the look and also set the makeup. Apply some powder into the cap and swirl your brush until it collects all the powder then apply evenly on your face.
Next apply concealer everywhere you need it except for underneath your eyes. Now apply a eyeshadow primer to your eyelids.
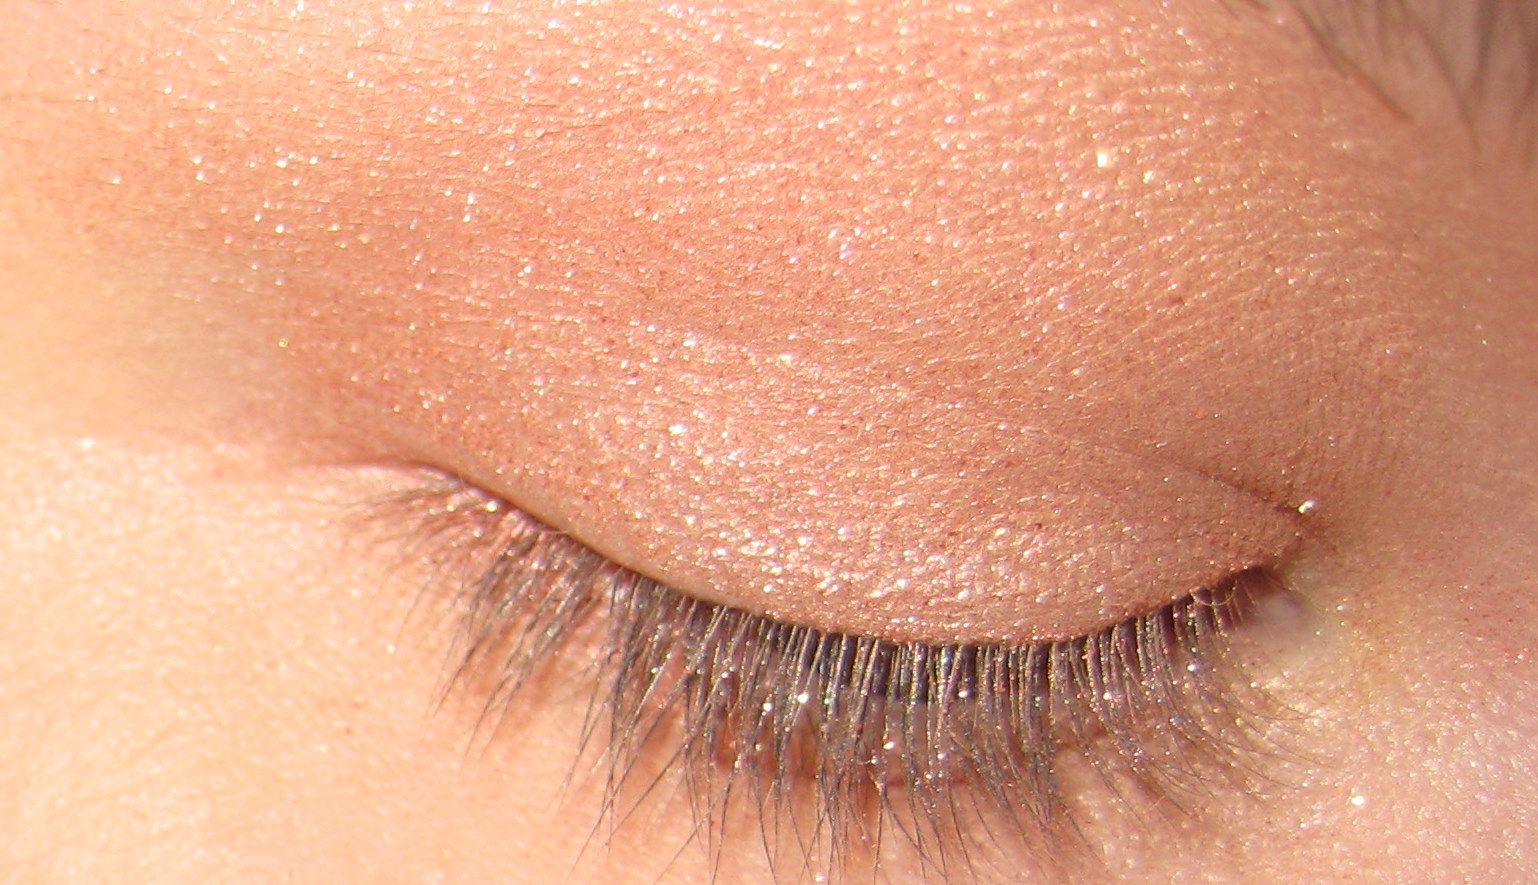
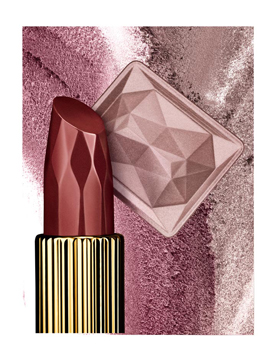
Take a shimmery white eyeshadow and apply it to your eyelid, the inner corner of your eyes and also right on the brown bone. This is just highlighting key areas. Now you want to take your eyeshadow which today we will be using Anastasia eyeshadow, this actually came in a kit with eyebrow gel and a bunch of other goodies. I searched Sephora and they don't have it out anymore. But no worries :) There are a billion other colors like them on the market ;) We will start with the darker color first (on the left)


 Apply all over your lid to your crease with your finger. Your finger works best for loose powder because not a lot of color will stay on the brush to apply. So it will take twice as long with a brush than with your hands. Then take the lighter color (on the right) and apply from your crease to your brow bone with your ring finger. I found its better and easier to use your ring finger. This helps create definition, and don't worry about covering the white up. Next you will take the shimmery white and apply it right on your brown bone again blending into the brown. As you can see the color is very light, and that is on purpose.
You want to make it look like you are not wearing any makeup at all. Now take a flat brush and dip it in the darker color and apply right under your lashline. It will be light but that is what we want, you can make it darker if you would like.

 Eyeliner is next, first you will tightline (line the upper waterline near your lashes) Take a black pencil, I am using a MAC pencil. Line your eye and try not to blink right after you have finished, this will trace the black to your lower waterline. Tightlining makes your eyelashes appear fuller and gives your eyes a shape. Next we will be using purple eyeliner. I am using Smashbox's purple pencil eyeliner. Any purple will do. Line your eyes as close to the lashes as possible, don't worry about if the line is straight or not. That is easily fixed, take your finger or an eyeliner smudge brush and smudge the liner and then apply more eyeshadow on top to give it a softer feel. Then line your waterline and right above your lashes. If you got any black on your lower waterline that is fine you can wipe away with a finger then apply the purple over it.
 Next curl your lashes, apply mascara. Then fill in your eyebrows and after you fill them in apply a brow gel to make them stay in place. I don't know about you but I have trouble with them staying put they sometimes point out or go the opposite way I want them too. If you don't have eyebrow gel, Pomade works just as well. Just take your finger and apply a tiny amount of gel over them. Don't put too much you don't want to make them look glossy :p Then take an eyebrow brush and point those stubborn hairs to go the way you want them.
Now take a tissue and clean underneath your eyes. Then apply your concealer, yes I know you have color underneath your eye, but you can always reapply that if needed. Then apply mascara to your lower lashes.
For cheeks you want that blushing bride look so take Smashbox's O-glow blush and apply it from the apple of your cheeks to your cheek bones, blend well. This particular blush comes out white and will turn to pink as soon as it hits your skin. It blends really well and give just the right amount of color. Then take your highlighter and apply right on the top of your cheeks. For highlighter I am using my favorite High beam by Benefit.
For lips apply your highlighter at the cupids bow (top of your lips) and right underneath your lower lip. Then take a dark red lipstick apply on your lips with a lip brush. Applying with a lip brush helps give your lips a more defined shape. It also helps you to keep within the lines of your lips and leaves room for fewer mistakes.
Finished! Now add a white dress and a veil and you're ready to walk down the isle! ;)

If you have any questions, suggestions, or comments email me! :)

Continue reading...

First things first skin care is the most important step to makeup. You need to wash your face two times a day, especially at night! I cannot stress how important it is to get off the makeup before you sleep! Three steps, cleanser, toner, moisturizer. Do not tug when cleansing your face this cause premature wrinkles! Always always always do these three steps.
Today we will do things a bit differently, start off with your usual moisturizer, and foundation, and powder. But do not put concealer on underneath your eyes. That will be last because we will be using loose powder for the eyes and you will get fall outs (eyeshadow will fall underneath your eyes) You are however allowed to apply it everywhere else like your nose, mouth and other red areas or blemishes.
For the foundation we want to use airbrush makeup, however most of us cannot afford an airbrush machine so we will use the drug store brand Sally Hanson Airbrush Makeup which works amazingly. Spray it all over your face and use a stippling brush or powder brush and apply evenly all over your face. This helps to create that airbrush look, it really does work and it is super cheap! Next for powder I am using Bare Escentuals Mineral Veil to finish off my airbrush look. This helps give a finish to the look and also set the makeup. Apply some powder into the cap and swirl your brush until it collects all the powder then apply evenly on your face.
Next apply concealer everywhere you need it except for underneath your eyes. Now apply a eyeshadow primer to your eyelids.
Take a shimmery white eyeshadow and apply it to your eyelid, the inner corner of your eyes and also right on the brown bone. This is just highlighting key areas. Now you want to take your eyeshadow which today we will be using Anastasia eyeshadow, this actually came in a kit with eyebrow gel and a bunch of other goodies. I searched Sephora and they don't have it out anymore. But no worries :) There are a billion other colors like them on the market ;) We will start with the darker color first (on the left)

 Apply all over your lid to your crease with your finger. Your finger works best for loose powder because not a lot of color will stay on the brush to apply. So it will take twice as long with a brush than with your hands. Then take the lighter color (on the right) and apply from your crease to your brow bone with your ring finger. I found its better and easier to use your ring finger. This helps create definition, and don't worry about covering the white up. Next you will take the shimmery white and apply it right on your brown bone again blending into the brown. As you can see the color is very light, and that is on purpose.
You want to make it look like you are not wearing any makeup at all. Now take a flat brush and dip it in the darker color and apply right under your lashline. It will be light but that is what we want, you can make it darker if you would like.

 Eyeliner is next, first you will tightline (line the upper waterline near your lashes) Take a black pencil, I am using a MAC pencil. Line your eye and try not to blink right after you have finished, this will trace the black to your lower waterline. Tightlining makes your eyelashes appear fuller and gives your eyes a shape. Next we will be using purple eyeliner. I am using Smashbox's purple pencil eyeliner. Any purple will do. Line your eyes as close to the lashes as possible, don't worry about if the line is straight or not. That is easily fixed, take your finger or an eyeliner smudge brush and smudge the liner and then apply more eyeshadow on top to give it a softer feel. Then line your waterline and right above your lashes. If you got any black on your lower waterline that is fine you can wipe away with a finger then apply the purple over it.
 Next curl your lashes, apply mascara. Then fill in your eyebrows and after you fill them in apply a brow gel to make them stay in place. I don't know about you but I have trouble with them staying put they sometimes point out or go the opposite way I want them too. If you don't have eyebrow gel, Pomade works just as well. Just take your finger and apply a tiny amount of gel over them. Don't put too much you don't want to make them look glossy :p Then take an eyebrow brush and point those stubborn hairs to go the way you want them.
Now take a tissue and clean underneath your eyes. Then apply your concealer, yes I know you have color underneath your eye, but you can always reapply that if needed. Then apply mascara to your lower lashes.
For cheeks you want that blushing bride look so take Smashbox's O-glow blush and apply it from the apple of your cheeks to your cheek bones, blend well. This particular blush comes out white and will turn to pink as soon as it hits your skin. It blends really well and give just the right amount of color. Then take your highlighter and apply right on the top of your cheeks. For highlighter I am using my favorite High beam by Benefit.
For lips apply your highlighter at the cupids bow (top of your lips) and right underneath your lower lip. Then take a dark red lipstick apply on your lips with a lip brush. Applying with a lip brush helps give your lips a more defined shape. It also helps you to keep within the lines of your lips and leaves room for fewer mistakes.
Finished! Now add a white dress and a veil and you're ready to walk down the isle! ;)

If you have any questions, suggestions, or comments email me! :)


