This is the first of my Halloween tutorials, I wanted to start with something easy then work up to the best ones. Don't worry I will have you wowed ;) The anticipation is killing you isn't it?
I choose Belle because she is very soft and come on, who doesn't want to look like her really? I thought it would even be a good look for a first date! This look will look good on anyone, the colors are neutral and romantic. For inspiration I even watched the movie Beauty and the Beast :)
 I will also show you how to do your hair like her at the end of this tutorial, I didn't use a wig since I already had long brown hair of course :p
First are the same steps as always moisturizer, and face primer. They will forever be the first steps to any makeup you apply. Next is foundation, Belle has a really flawless skin, so you want to make sure your skin looks flawless as well. For this I suggest using a liquid foundation, it is the easiest to blend. I applied two coats of Loreal's True Match, Super Blendable Makeup in ivory. I spot treated my cheeks a third time to rid my cheeks of their rosy color. Now take your powder I am using Smashbox's Halo powder, and take a big fluffy brush and lightly dust all over your face. By doing so you are sealing the foundation, giving it a more finished look, and giving an airbrush type of effect. Next concealer, apply this under your eyes, sides of your mouth, sides of your nose, where any redness occurs and any blemish or imperfection you want to hide. Now define your eyebrows, Belle's eyebrows are thin and roundish shaped; however do not worry about following her exact look, because what looks good on a cartoon doesn't necessarily mean it will look good on you too :p So follow the natural shape of your eyebrows, filling in any areas where the hairs are sparse.

 The next step is eyeshadow, now you can basically do whatever you want for this part but I decided to do very light subtle pinks to keep this looking natural and soft. I first applied some eye primer, when I doing natural and not so bright colors I like to apply Smashbox's eyelid primer more than using my MAC one. So for this case I used Smashbox's eyelid primer. I applied a shimmery pink eyeshadow to my lid, then a lighter pink to my crease and up to my brow bone, then applied a light shimmery white to my brow bone. I also applied the white to the inner corners of my eyes to brighten them up a bit. Then I wet my brush with water and dipped it in the pink shimmery eyeshadow again and applied it to the center of my lid to make the color more visible. The colors are a little hard to see with the camera but you get the idea.
 The middle color is the color I used for my lid, the pink was for the crease and white for brow bone and inner corners.
Now time for eyeliner, I used my Stila Black Cat eyeliner I was going to use liquid eyeliner, but I was afraid that the look would loose its soft and romantic feel so I opted out and used the Stila one instead. Start from the middle and work your way out to the outer corners. Wing the eyeliner out for a cat eye look. If you notice Belle has three distinct eyelashes, and winging the eyeliner out is creating the first one. Then go back to the middle where you started the line and trace along all the way to the inner corner. Belle's eyes are very defined with black, so you want to do the same.
 Next step is fake eyelashes, you can buy these at any drug store. For this look we will use individual eyelashes, which can be tricky. Take your glue and apply a little tine tiny dot on your finger, not directly on the lash. You have to work fast because the glue dries fast. Take the lashes you want to apply, I chose the longest ones, and stick the end of the lash in the glue let the glue get tacky for 20 seconds and apply to the corner of your lash line. Repeat this step again with another lash and apply right next to it. Then curl your lashes, but be careful because the lash curler could bend your lashes. I tried to only curl my real lashes, however it may be a better idea to curl your lashes before applying the lashes :p If you want, instead of individual lashes, you can buy any regular size drug store lashes, cut them in half and apply them to the outer half of your lashes. Apply your favorite mascara.

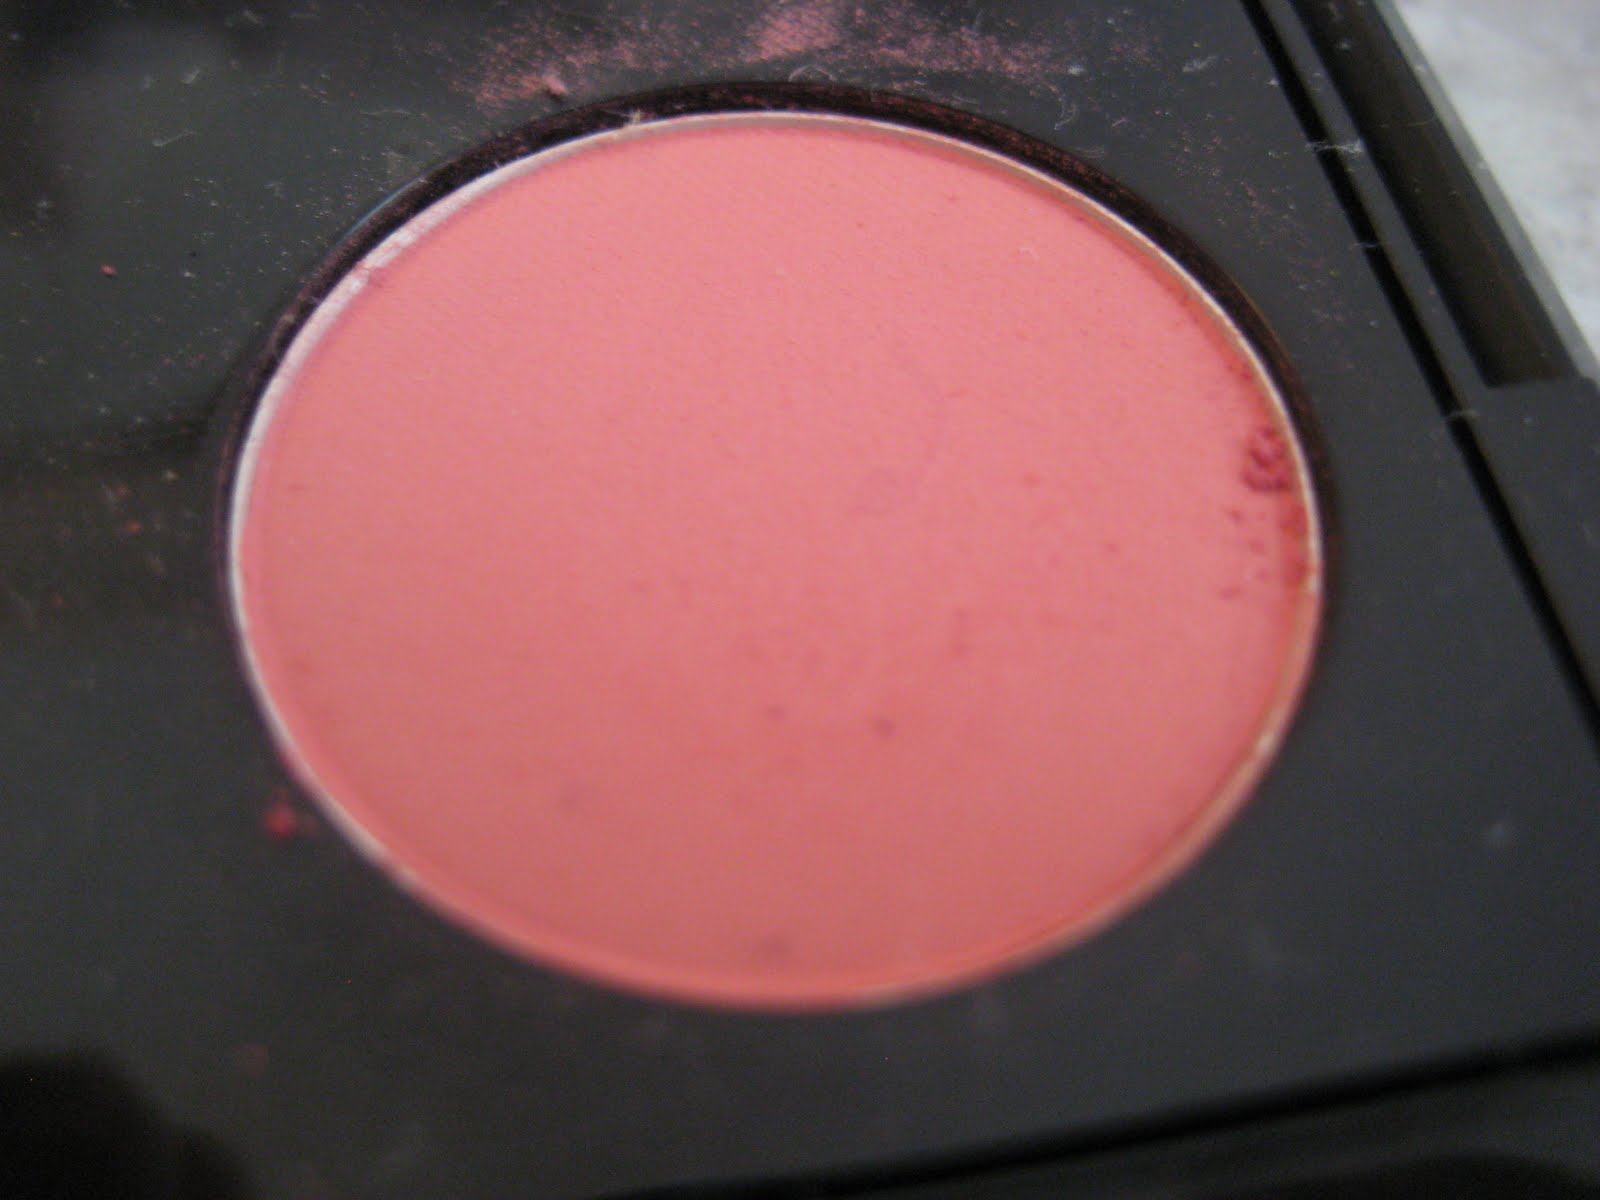
The next step is highlighting, as you can see in my picture above my cheeks are very illuminated. To do this I first applied a soft pink blush, Bare Minerals Laughter, to my cheek bones and apples of my cheeks. Then I applied Benefit's High Beam and a lot of it. I applied this all over the apples of my cheeks, until I got that super glow. I also applied it above my eye brows and right above my lips and below my lower lip.
The second to last step you want to make your nose look smaller, more cartoon like. Belle's nose is really small, so we want to get that look. This is done with a light brown color. Just take your brush and follow the lines of your nose looking straight into the mirror. To soften the harsh edges take a fluffy brush and light brush over them. This sounds weird I know but it really does make a difference ;)

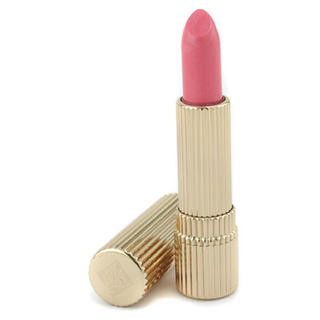
The very last step is lips. Belle has light pink lips which are very defined. I took a lip brush and outlined my lips with my concealer. To define them and give them a perfect shape. You can basically create any shape you want. Take a light pink lipstick color on a lip brush to fill them in. I am using an Estee Lauder light pink lipstick.


FINISHED! :D Now time for hair, wash your hair and if you have flat and lifeless hair, apply a rootlifter in your hair before it dries, or before you dry it. I just let my hair air dry since it dries curly. Belle's hair has her hair parted and pulled back on either side to the back of her head. I pulled my back at my side part with bobby pins, pushing them forward on my face a bit. Then I took my hair and pulled half of it up in a pony tail and made it into a bun, leaving some hair down. I then took an extention pony tail hair piece and clipped it right under the bun pushing it forward. Belle's hair is very neat and in place, however my hair was a bit on the messy side and I liked the look of it, you can create a cleaner look with hair spray and curling irons or just buy a wig :p Pony tail extensions are really cheap, around $20 that is for synthetic hair, the real hair ones are a lot more pricey. As long as you take care of the synthetic ones you will be just fine with them :) DO NOT WASH THEM. That ruins them and makes them frizz. Get a wig brush and only brush the hair with that brush. Others will pull the hairs out.

The first picture is the clip in, and the second is my real hair with the bun.
If you have any comments, questions or suggestions please feel free to email me :) Oh and please send in any ideas you have for makeup tutorials for Halloween. I will try to do all of them plus my own ideas ;) Stay tuned! Email at:

Continue reading...
I choose Belle because she is very soft and come on, who doesn't want to look like her really? I thought it would even be a good look for a first date! This look will look good on anyone, the colors are neutral and romantic. For inspiration I even watched the movie Beauty and the Beast :)
 I will also show you how to do your hair like her at the end of this tutorial, I didn't use a wig since I already had long brown hair of course :p
First are the same steps as always moisturizer, and face primer. They will forever be the first steps to any makeup you apply. Next is foundation, Belle has a really flawless skin, so you want to make sure your skin looks flawless as well. For this I suggest using a liquid foundation, it is the easiest to blend. I applied two coats of Loreal's True Match, Super Blendable Makeup in ivory. I spot treated my cheeks a third time to rid my cheeks of their rosy color. Now take your powder I am using Smashbox's Halo powder, and take a big fluffy brush and lightly dust all over your face. By doing so you are sealing the foundation, giving it a more finished look, and giving an airbrush type of effect. Next concealer, apply this under your eyes, sides of your mouth, sides of your nose, where any redness occurs and any blemish or imperfection you want to hide. Now define your eyebrows, Belle's eyebrows are thin and roundish shaped; however do not worry about following her exact look, because what looks good on a cartoon doesn't necessarily mean it will look good on you too :p So follow the natural shape of your eyebrows, filling in any areas where the hairs are sparse.

 The next step is eyeshadow, now you can basically do whatever you want for this part but I decided to do very light subtle pinks to keep this looking natural and soft. I first applied some eye primer, when I doing natural and not so bright colors I like to apply Smashbox's eyelid primer more than using my MAC one. So for this case I used Smashbox's eyelid primer. I applied a shimmery pink eyeshadow to my lid, then a lighter pink to my crease and up to my brow bone, then applied a light shimmery white to my brow bone. I also applied the white to the inner corners of my eyes to brighten them up a bit. Then I wet my brush with water and dipped it in the pink shimmery eyeshadow again and applied it to the center of my lid to make the color more visible. The colors are a little hard to see with the camera but you get the idea.
 The middle color is the color I used for my lid, the pink was for the crease and white for brow bone and inner corners.
Now time for eyeliner, I used my Stila Black Cat eyeliner I was going to use liquid eyeliner, but I was afraid that the look would loose its soft and romantic feel so I opted out and used the Stila one instead. Start from the middle and work your way out to the outer corners. Wing the eyeliner out for a cat eye look. If you notice Belle has three distinct eyelashes, and winging the eyeliner out is creating the first one. Then go back to the middle where you started the line and trace along all the way to the inner corner. Belle's eyes are very defined with black, so you want to do the same.
 Next step is fake eyelashes, you can buy these at any drug store. For this look we will use individual eyelashes, which can be tricky. Take your glue and apply a little tine tiny dot on your finger, not directly on the lash. You have to work fast because the glue dries fast. Take the lashes you want to apply, I chose the longest ones, and stick the end of the lash in the glue let the glue get tacky for 20 seconds and apply to the corner of your lash line. Repeat this step again with another lash and apply right next to it. Then curl your lashes, but be careful because the lash curler could bend your lashes. I tried to only curl my real lashes, however it may be a better idea to curl your lashes before applying the lashes :p If you want, instead of individual lashes, you can buy any regular size drug store lashes, cut them in half and apply them to the outer half of your lashes. Apply your favorite mascara.
The next step is highlighting, as you can see in my picture above my cheeks are very illuminated. To do this I first applied a soft pink blush, Bare Minerals Laughter, to my cheek bones and apples of my cheeks. Then I applied Benefit's High Beam and a lot of it. I applied this all over the apples of my cheeks, until I got that super glow. I also applied it above my eye brows and right above my lips and below my lower lip.
The second to last step you want to make your nose look smaller, more cartoon like. Belle's nose is really small, so we want to get that look. This is done with a light brown color. Just take your brush and follow the lines of your nose looking straight into the mirror. To soften the harsh edges take a fluffy brush and light brush over them. This sounds weird I know but it really does make a difference ;)

The very last step is lips. Belle has light pink lips which are very defined. I took a lip brush and outlined my lips with my concealer. To define them and give them a perfect shape. You can basically create any shape you want. Take a light pink lipstick color on a lip brush to fill them in. I am using an Estee Lauder light pink lipstick.


FINISHED! :D Now time for hair, wash your hair and if you have flat and lifeless hair, apply a rootlifter in your hair before it dries, or before you dry it. I just let my hair air dry since it dries curly. Belle's hair has her hair parted and pulled back on either side to the back of her head. I pulled my back at my side part with bobby pins, pushing them forward on my face a bit. Then I took my hair and pulled half of it up in a pony tail and made it into a bun, leaving some hair down. I then took an extention pony tail hair piece and clipped it right under the bun pushing it forward. Belle's hair is very neat and in place, however my hair was a bit on the messy side and I liked the look of it, you can create a cleaner look with hair spray and curling irons or just buy a wig :p Pony tail extensions are really cheap, around $20 that is for synthetic hair, the real hair ones are a lot more pricey. As long as you take care of the synthetic ones you will be just fine with them :) DO NOT WASH THEM. That ruins them and makes them frizz. Get a wig brush and only brush the hair with that brush. Others will pull the hairs out.

The first picture is the clip in, and the second is my real hair with the bun.
If you have any comments, questions or suggestions please feel free to email me :) Oh and please send in any ideas you have for makeup tutorials for Halloween. I will try to do all of them plus my own ideas ;) Stay tuned! Email at:


