
 I am going to skip to the eyeshadow part instead of going over the whole foundation routine. Since I must have drilled it into your heads by now. :p
First step you want to put eye primer on, since the colors will be very vibrant you want to make sure they pop. I wanted the green to stand out most on my eyelid more than any other colors, so I used my waterproof pencil from Cargo. Take the green pencil and color in your entire eyelid, making sure you get the inner and outer corners of your eyes. Then trace the green color underneath your bottom lash line keep the line close to the rim of your eye. Also apply the green to your waterline, the color won't be as vibrant here but the light will still pick it up. Now take the dark blue pencil and color right above the green starting at the crease. This color is used to give your eyes some definition, the color is very bold so you need to tone it down a bit. Use a blending brush and take a light green eyeshadow, I am using MAC's Sweet & Punchy and apply over the dark blue pencil to fade it out a bit. Take that same green color and apply it from the crease to your brow bone.

 The next part is probably the hardest; applying the crystals. I am using Swarovski crystals because I think they stand out more than regular ones, you can buy a pack of these at Jo-ann, Hobby Lobby or any arts and craft stores. You want to apply these with eyelash glue since the crystals will be near your eye and regular glue could get in your eye and super glue could glue your eye shut :p I am using Duo Adhesive lash glue it is my favorite and helps not only lashes to stay on but whatever you glue to your face :p I glued seven of the crystals to my face, you can glue however many you'd like and in any area you would like :) After you have applied the crystals take the light green and apply around the crystals to make it look as if the crystals were a part of your body.
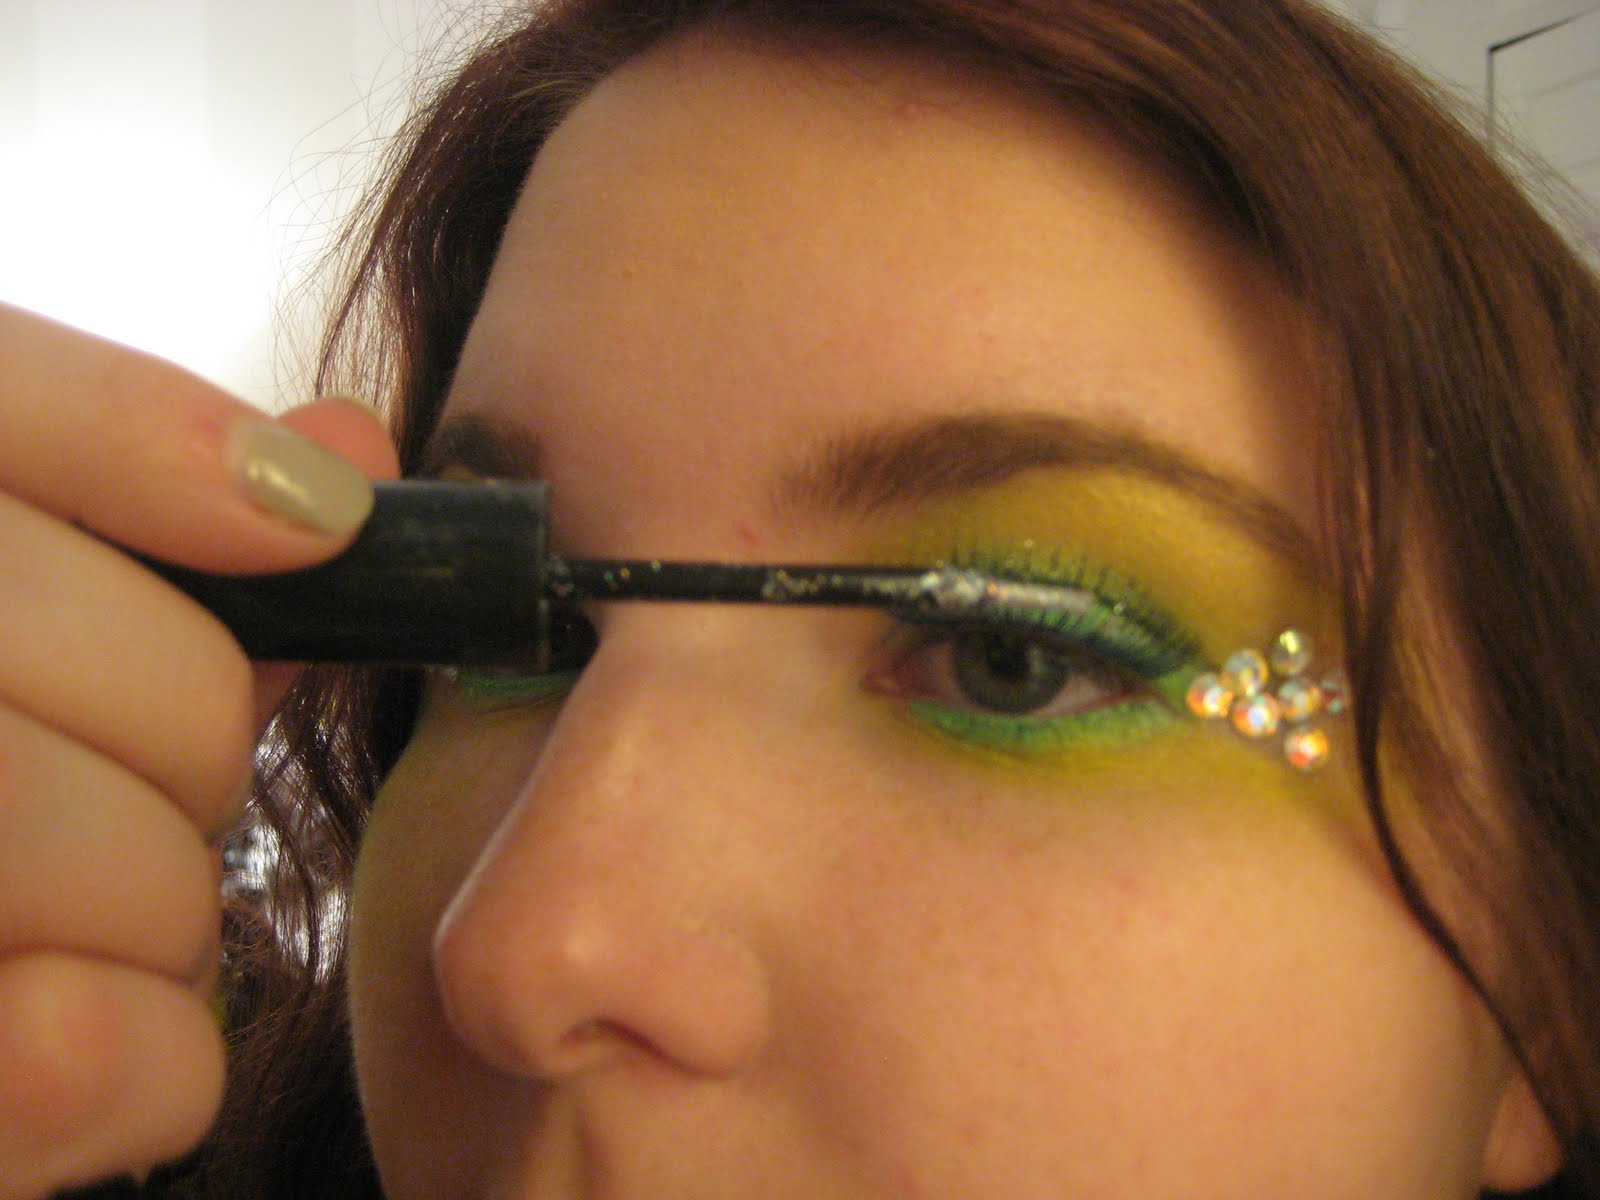 Next apply the fake lashes, I would suggest using lashes but of course you don't have to. I am using blue lashes, you could also use blue mascara if you didn't want to use lashes. After applying the lashes take a glitter liner I am using NYX Glitter Liner and apply it to the fake lashes to give them a sparkle. Apply generously and make sure you don't have clumps here and there. If you haven't already fill in your eyebrows I did them a lot darker than I usually do, to give my face more of a dramatic look.
This is the fun part, creating the scales. Take fishnet stockings and hold it where you want the scales to go, and then apply color to the stocking. Pull the stocking off and TADA! :D I used a dark green, light green and a yellowish orange for the scales. You can use whatever color you see fit :) I also applied some scales to my hands and random spots on my arm. Just for an added effect.

Last step is the lips, I just took a light pink lip pencil and filled in my lips then took a shimmery white eyeshadow and applied in the middle of my lips. You can also apply the white eyeshadow all over your face to add extra shimmer.
Done! This is how your finished eye should look :)

I hope you enjoyed this tutorial! If you have any questions, comments, complaints, or ideas email me :) I'd love to hear from you!

0 comments:
Post a Comment